
Cutting a person or product out of a photo used to mean a slow session with a pen tool and a lot of zooming in. Now an AI background remover can do most of the work in seconds. Uploading the image is easy. Getting a cut-out that looks clean around hair, shadows and fine edges takes a little more care, and this guide covers both.
Short answer: To remove a background with AI, upload your photo to an AI background remover, let it detect the main subject automatically, then refine the edges with the erase and restore brushes. Export as a PNG to keep transparency, or add a new solid colour or scene. Clear, well-lit photos with good contrast give the cleanest results.
Key takeaways
- AI background removers use image segmentation, meaning the software sorts each pixel into "subject" or "background."
- You can choose standalone web tools, phone apps, design platforms or professional editing software, depending on how much control you need.
- The source photo matters most. Good lighting and contrast between subject and background make edges far cleaner.
- Save as PNG if you want a transparent background. JPG files cannot store transparency.
- Check the privacy policy before uploading photos of people, documents or anything sensitive.
How an AI background remover actually works
Most AI background removers rely on a technique called image segmentation. A model trained on large numbers of labelled images learns to recognise common subjects such as people, pets, products and cars, and to draw a boundary around them.
When you upload a photo, the tool predicts which pixels belong to the main subject. It then creates a mask, which is a hidden layer that shows the subject and hides everything else. Better tools also produce a soft mask for tricky areas like hair, fur or motion blur, so those pixels are only partly transparent instead of cut off sharply.
That is why results vary. The AI is making an educated guess about where your subject ends. When the subject stands out clearly, the guess is usually very good. When the subject blends into the background, you will need to step in.
Types of AI background removal tools
You do not need a specialist app for every job. Background removal is now built into many kinds of software. Here is a general comparison. Features and pricing change often, so check each tool's official site for current details.
| Tool type | Best for | Typical strengths | Typical limits |
|---|---|---|---|
| Standalone web tools | Quick one-off cut-outs | Very fast, no install, simple interface | Free tiers may limit resolution or add restrictions; you upload to a server |
| Phone photo apps and built-in OS features | Social posts, stickers, casual edits | Convenient, sometimes processed on the device | Fewer refinement controls |
| Online design platforms | Thumbnails, product listings, marketing graphics | Remove and redesign in one place, templates | Advanced features may need a paid plan |
| Professional photo editing software | Print work, client projects, complex images | Fine edge control, layers, masks you can edit | Steeper learning curve, usually a subscription |
| Batch or API-based services | Online stores with many product photos | Process large numbers of images automatically | Needs setup; costs often scale with volume |
If you are weighing whether to stick with a classic editor or switch to an AI-first app, our guide on how AI photo editing apps compare to traditional ones goes into the trade-offs in more depth.
Step-by-step: removing a background with AI
The exact buttons differ between tools, but the workflow is almost always the same.
1. Pick the right photo
Start with the highest-resolution version you have. A small, compressed image gives the AI less detail to work with, and the edges will look rough when you enlarge them later.
2. Upload or open the image
In a web tool, drag the file into the upload area. In an app or editor, open the image and look for an option labelled something like "remove background," "cut out" or "select subject."
3. Let the AI detect the subject
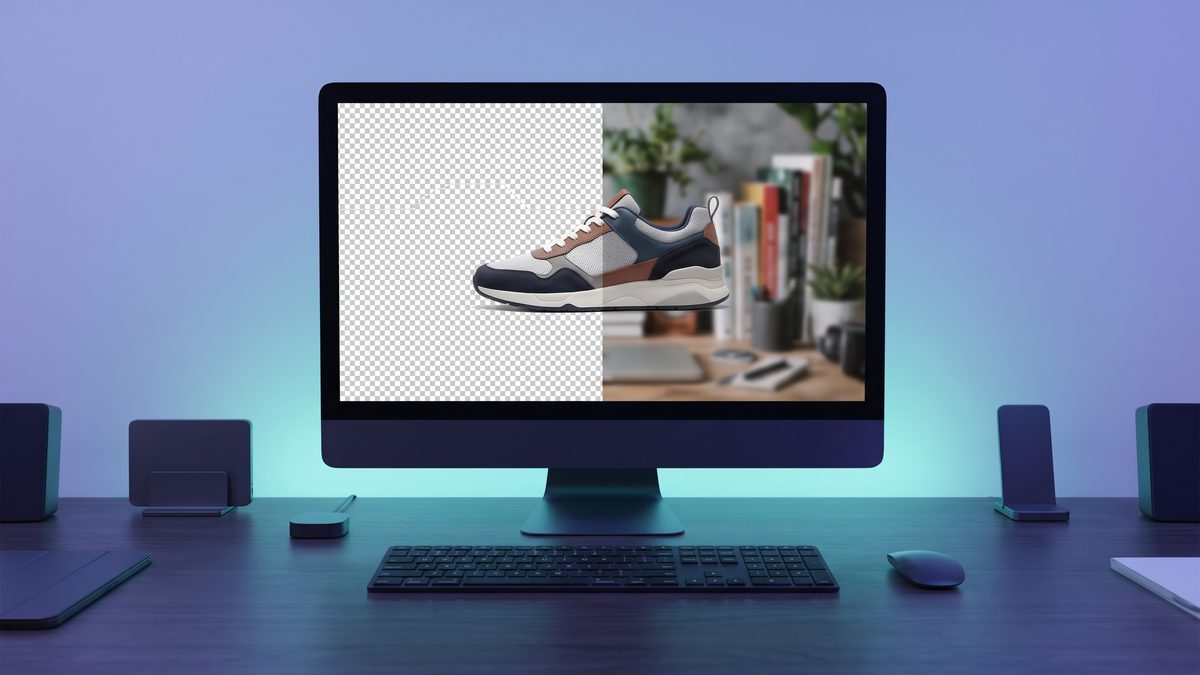
The tool will usually process the image in a few seconds and show your subject on a checkerboard pattern. That pattern is the standard way of showing transparency. It is not part of your image.
4. Check the edges up close
Zoom in closely, well past the normal view, so you can see individual edge details, and look at:
- Hair and fur
- Gaps between arms and the body
- Fingers, straps, handles and other thin parts
- Transparent or reflective areas like glasses and bottles
5. Refine with erase and restore brushes
Most tools offer two brushes. Erase removes leftover background. Restore brings back parts of the subject the AI cut off by mistake. Use a soft-edged brush for hair and a smaller, harder brush for straight product edges.
6. Choose your new background
You can leave it transparent, fill it with a solid colour, apply a blur, or place the subject on a new scene. For product photos, plain white or a light neutral is a common and safe choice. For a new scene, try to match the lighting direction, or the composite will look pasted on.
7. Export in the right format
- PNG: keeps transparency. Use it for logos, overlays, stickers and anything you will place on other designs.
- JPG: smaller files but no transparency. Fine if you have already added a solid or photo background.
- WebP: supports transparency with smaller file sizes, and works well for websites, though some older software may not open it.
Tips for cleaner results
The AI does a better job when you give it a good starting point. If you are taking the photo yourself, these habits help a lot.
Create contrast. A dark subject against a light wall, or the opposite, makes the boundary obvious. Avoid a white shirt against a white wall.
Light the subject evenly. Harsh shadows can be read as part of the subject, or can hide its edges.
Keep the subject in focus. Blurry edges are hard for any model to separate cleanly.
Leave some space around the subject. If an arm or a product edge is cropped by the frame, the cut-out will look chopped.
Use a simple background where possible. A busy pattern, like leaves or a crowded street, gives the AI more chances to make mistakes.
Shoot several angles. If one image cuts out badly, another may work perfectly with no extra editing.
Fixing common problems
Even good tools struggle with certain subjects. Here is how to handle the usual trouble spots.
Hair and fur look chunky or have a halo
A faint coloured outline from the old background is called a halo or fringe. Look for an edge refinement, feather or "decontaminate colours" option. If your tool lacks one, placing the subject on a background with similar brightness to the original hides small fringes.
Parts of the subject disappear
This often happens when clothing matches the background. Use the restore brush carefully around the missing area. In professional editors, you can paint directly on the mask for more control.
Glass, smoke and transparent objects
AI tools tend to treat these as all subject or all background. Real transparency usually needs manual masking in a full editor. If precision matters, consider reshooting against a plain backdrop.
Shadows vanish and the subject looks like it is floating
Removing the background often removes the natural shadow too. Some tools can add a soft shadow back. Otherwise, add a subtle drop shadow underneath the subject so it sits on the new surface.
Wrong subject selected
In a group photo or busy scene, the AI might pick the wrong person or object. Erase what you do not want, or crop the photo before uploading so the intended subject dominates the frame.
Privacy, rights and responsible use
Many AI background removers process your image on a remote server. Before uploading, it is worth checking a few things in the tool's privacy policy:
- Whether uploaded images are stored, and for how long
- Whether your images may be used to train the company's AI models
- Whether you can delete your uploads and account data
Be especially careful with photos of children, ID documents, receipts, bank statements or anything showing addresses or account numbers. The same caution applies to any AI app that handles personal or financial data, which we cover in our look at AI apps for personal finance management. If a tool offers on-device processing, that can reduce how much data leaves your phone or computer.
Also remember that removing a background does not change who owns the photo. Only edit and publish images you have the right to use, and do not use cut-outs of real people in misleading or harmful ways.
Who an AI background remover suits
- Online sellers who need consistent product photos on clean backgrounds.
- Content creators making thumbnails, social graphics and stickers.
- Small business owners building flyers, menus and presentations without a designer.
- Job seekers and professionals tidying up a profile photo.
- Hobbyists making collages, cards and family photo projects.
If you edit images regularly for work, background removal is one of the easiest wins among AI tools. You can find more ideas like this in our guide on how to use AI tools to save time at work and our roundup of top AI apps for productivity.
The limits to keep in mind
AI background removal is very good, but it does not replace a skilled editor for every job. Results on complex images still need checking, and free versions of some tools may limit output resolution or the number of images you can process. High-stakes work such as print advertising or large-format displays usually deserves a manual pass in professional software. Treat the AI result as a strong first draft, not a guaranteed final image.
Conclusion
Removing a background with AI is now quick and accessible. Choose a tool that fits your needs, start with a sharp, well-lit photo, and check the edges before you export. A minute spent with the erase and restore brushes, plus the right file format, is usually what separates an obvious cut-out from a polished image. Keep privacy in mind, especially with personal photos, and confirm current features and pricing on each tool's official site.
Want to do more with AI beyond photos? Explore the other IntelliZone AI zones, including Productivity, Money & Finance and Photo & Creative, for practical guides to the tools that fit your everyday life and work.
FAQ
Is there a free AI background remover?
Many tools offer a free option, often with limits such as lower export resolution, a cap on the number of images, or fewer editing controls. Some phone operating systems and photo apps also include basic background removal built in. Offers change often, so check the official site for current terms.
Why does my cut-out have a white or coloured outline?
That outline is a halo left over from the original background, and it usually shows up around hair or soft edges. Try an edge refinement or feather setting if your tool has one. Placing the subject on a background with similar brightness to the original also makes it much less noticeable.
Which file format should I save my image in?
Save as PNG if you want to keep the transparent background, for example for logos or overlays. Use JPG if you have already added a solid colour or new scene and want a smaller file. WebP is a good choice for websites because it supports transparency at smaller sizes.
Can AI remove the background from a group photo?
Usually yes, but the AI may treat everyone as one subject or pick the wrong person. Use the erase and restore brushes to keep only the people you want. Cropping the photo first can help the tool focus on the right subject.
Is it safe to upload personal photos to a background remover?
It depends on the tool's privacy policy. Check whether uploads are stored, how long they are kept, and whether they may be used to train AI models. Avoid uploading sensitive images like ID documents, and consider tools that process images on your device when privacy matters most.
Can I use AI background removal for product photos on an online store?
Yes, it is one of the most common uses, and some services can process many product images at once. For the best results, shoot products against a plain, contrasting backdrop with even lighting. Check that the final images meet your selling platform's photo requirements, since those rules can change.